Now that we’ve reviewed the key points in avoiding bot detection (see Part I), we can apply those principles to the development of our iron ore mining auto clicker for the Dwarven Mines. However, we’re still not quite at the coding part. First we’ll need to 1) install the required tools and 2) design the bot that won’t get you caught (you know, unless you write a very public blog post about it).
Installing the required tools:
- First, install the latest version of python from https://www.python.org/downloads/ . Pay close attention to whether you’re installing the 32 or 64 bit version (the default Python Windows installer is 32 bits, and that’s the version I installed/will reference). If you need the 64 bits version of Python, check the Looking for a specific release? section of the downloads page.
- If python is already installed, check your version by opening Windows PowerShell and typing python and then enter.
- Next, download and install the Microsoft Visual C++ 2015 Redistributable. Be sure to select the version corresponding to your Python installer (32 or 64 bits).
- Now to install our packages:
- Download the Numpy version corresponding to your Python installation from here. In my case, I’ve used numpy-1.12.1+mkl-cp36-cp36m-win32.whl. Type pip install numpy-1.12.0+mkl-cp36-cp36m-win32.whl on the command line (PowerShell) to install.
- Download the OpenCV version corresponding to your Python installation from here. In my case, I’ve used opencv_python-3.2.0-cp36-cp36m-win32.whl. Type pip install opencv_python-3.2.0-cp36-cp36m-win32.whl on the command line (PowerShell) to install. This package is dependent on Numpy, and you will get an error if you haven’t installed Numpy first.
- Install pyautogui by typing pip install pyautogui on the command line (PowerShell). This module is the crux of our program, and what we’ll be using to control mouse movement/clicks and to “press” keys.
- Optional: Download the pyHook or pynput for “listening” for keyboard or mouse inputs.
Let’s think about design. Let’s start by laying out out what we want our bot to be able to do. We want our bot to click on each available rock, mine the ore, and then either bank or drop everything once we have a full inventory. However, since we want to mimic a human player, we want to do these things less than perfectly (in a variable way). Some simple behaviors to mirror include ensuring the time intervals between activities isn’t always the same, that the same exact spot shouldn’t be clicked every time, and that our bot should be somewhat context aware (like when a scorpion gets in the way of a click, or when you’re lagging). First, let’s write some pseudo code of the main “mining” loop, our “banking” loop, and some code to call them appropriately “forever”:
1 2 3 4 5 6 7 8 9 10 11 12 13 14 15 16 17 18 19 20 21 | def mine_loop(): for rock in rocks: move cursor over rock in a random clickable location wait for iron to be mineable click wait to have successfully mined the ore wait some short, random period of time move to next rock def banking_loop(): for location in banking_locations move cursor over random clickable location #note this looks like the line in our mine_loop click wait some short, random period of time move back to starting location while True: #run program forever while True: #keep mining until inventory is full mine_loop() if inventory is full, break out of loop banking_loop() |
From here, we can set up helper functions to complete some of the more code-intense tasks, or just ones that we might want to reuse later. We’ll also discover along the way where we need to build in some defenses against bot detection and unexpected in-game events getting in our way. If you want a mental exercise, you can pause here and attempt to write the actual code yourself before continuing. Or alternatively, take a break to think through the possible “events” that aren’t included in our initial design that could mess up our program later.
Now on to the coding! Before we go any further, I want to remind everyone that botting is a bannable and unappealable offense in Runescape, so please NEVER test these techniques on your main account (or even while using the same IP address or computer, if possible). With that, let’s start with the helper function code. First, finding a random acceptable location:
1 2 3 4 5 6 7 8 9 10 | from random import randint import pyautogui def random_coordinate(x_lower, y_lower, x_range, y_range): """Moves cursor to random locaction still above the object to be clicked""" x = randint(x_lower, x_lower + x_range) y = randint(y_lower, y_lower + y_range) return pyautogui.moveTo(x, y, 0) |
The code above takes advantage of the builtin random module and the pyautogui module we installed earlier. As inputs, it takes the upper left-most clickable area (represented by x_lower and y_lower) and calculates the bottom right-most clickable area (by adding x_range and y_range to their respective _lower values). It then finds a random coordinate within the range (a random x, labeled x; a random y, labeled y) and uses pyautogui’s moveTo method to move the cursor to that location over 0 seconds.
We’ll need to come back to the random_coordinate function later to make improvements, because right now we have the cursor teleporting problem indicative of a bot instead of a human (time is 0 seconds), but let’s put a pin in that. For now, now that we can find acceptable locations to click, we need to actually know where the rocks are:
1 2 3 | rock_locations = {'rock1': (1243, 569, 55, 62), 'rock2': (1138, 695, 34, 39), 'movetorock3': (962, 823, 50, 50), 'rock3': (1128, 691, 37, 56), 'reset': (1465, 570, 50, 50)} |
This is where the code will depend on your screen resolution and game layout, but this worked for my setup. I’ve also added a couple of extra locations to represent locations next to the rocks, so we have locations for our character to move before making clicks (since rock 3 is separate from rocks 1-2). We will adjust function inputs for this location storage structure in a moment.
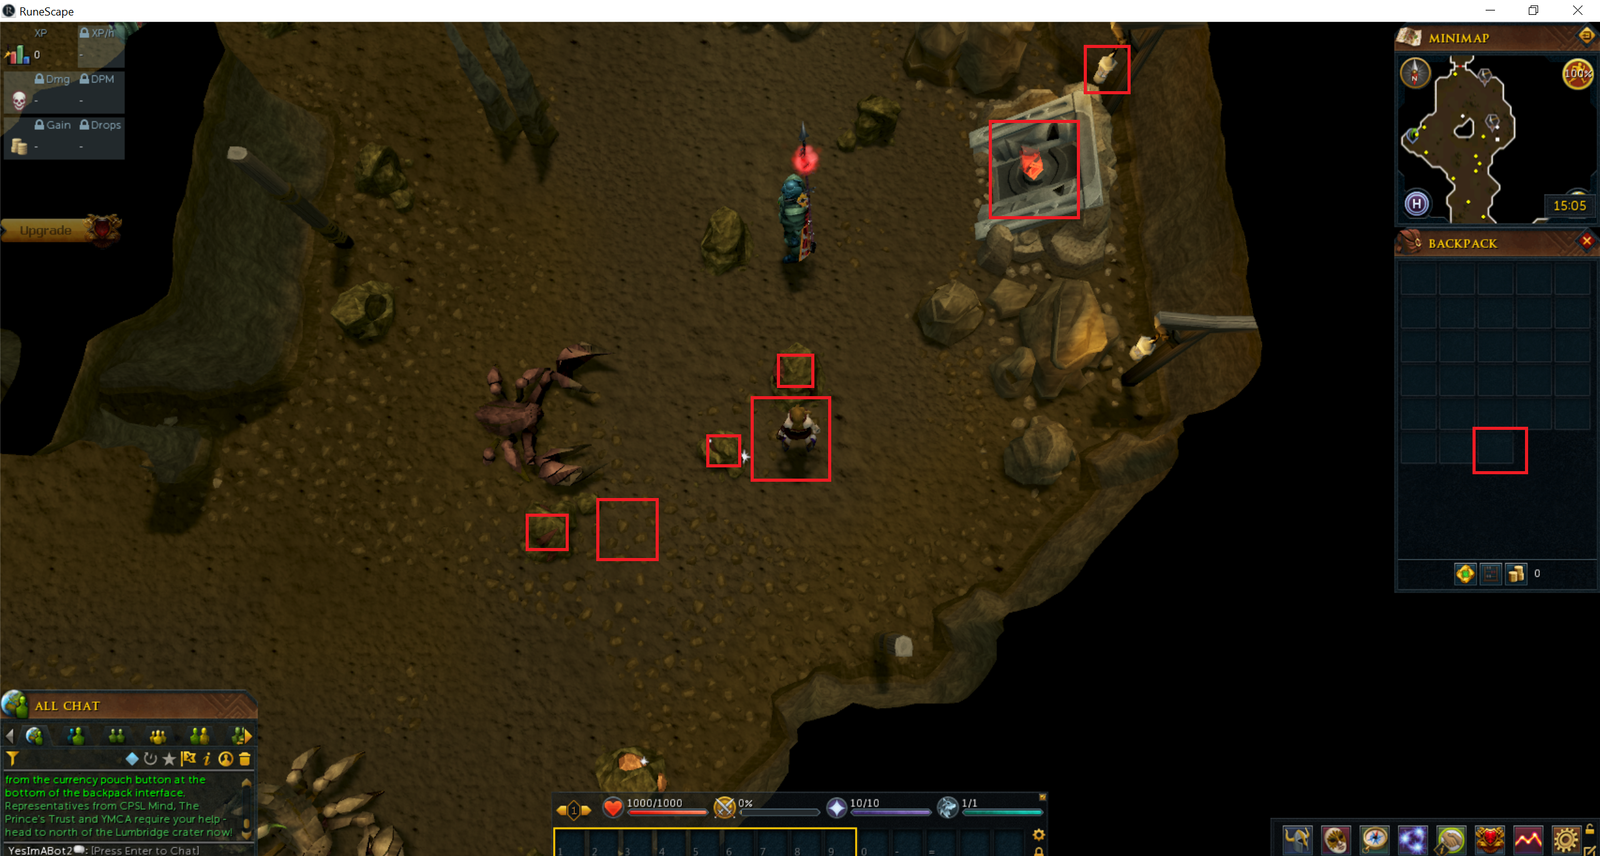
Going back to our mine_loop and banking_loop, it also seems like it’d be helpful to have a wait_for_trigger function, since it makes up a large part of what our program has to do (waiting for iron, for successfully mining a rock, etc.). But what exactly are we waiting for? How will we know when a rock is ready to mine? As a human, I usually notice this by the image of the rock changing slightly to have the color of the ore visible, but since we don’t know what could get in the way of the rock (blocking the color change), I chose to look for the change in the hover message (see images below). Successfully having mined a rock is represented by the rock being empty (i.e. we already got the ore), so the hover message will say just say “mine rock.” This methodology drives the need for another feature to our program: image matching. We’ll also need to make sure we have some data structure storing those various needed triggers.
1 2 3 4 5 6 7 8 9 10 11 12 13 14 15 16 17 18 19 20 21 22 23 24 25 26 27 28 29 30 | import cv2 import numpy def wait_for_trigger(triggers): """Checks to see if the proper message is on screen to indicate that the rock is ready to mine""" r = triggers[0], triggers[1], triggers[2], triggers[3] img = triggers[4] while image_match(r, img) == False: # wait return image_match(r, img) def image_match(r, img): pyautogui.screenshot('triggers/screenie.png', region=r) screen = cv2.imread('triggers/screenie.png') template = cv2.imread(img) res = cv2.matchTemplate(screen, template, cv2.TM_CCOEFF_NORMED) threshold = .80 loc = numpy.where(res >= threshold) if len(loc[0]) > 0: return True return False rock_triggers = {'rock1iron': (1243, 569, 350, 200, 'triggers/mine_iron_ore_rocks.png'), 'rock1noiron': (1243, 569, 275, 200, 'triggers/mine_rocks.png'), 'rock2iron': (1144, 695, 350, 200, 'triggers/mine_iron_ore_rocks.png'), 'rock2noiron': (1144, 695, 275, 200, 'triggers/mine_rocks.png'), 'rock3iron': (1128, 691, 350, 200, 'triggers/mine_iron_ore_rocks.png'), 'rock3noiron': (1128, 691, 275, 200, 'triggers/mine_rocks.png')} |
The rock_triggers set up areas to search within for our “triggers,” which are the images of the hover messages. Those trigger areas and images are then fed to our wait_for_trigger function, which will wait until the image is found. Whether or not the image if sound is determined by image_match(), which utilizes OpenCV (cv2) for the image processing and numpy to determine a match with a certain degree of certainty (threshold = 0.80). The reason for not searching for an exact match has to do with the color matching of the image. For an image to match “exactly” every single pixel has to be perfectly identical, and I found at times saving game screenshots (in various attempted image file formats) altered pixel colors very slightly (even in “lossless” types). The 0.80 threshold is the balance I found worked best.
In the last code block you’ll notice I left a comment for “wait.” In my final code, which I will post at the bottom of this post, I’ve chosen to define my own function to take inputs to make my life easier while writing this, but the underlying code is based on the builtin time module’s time.sleep() method, for a random number (in this case a float, which is why I use uniform instead of randint) from a range: time.sleep(uniform(min, max)) . Don’t forget to add uniform to your from random import line from earlier.
The banking_loop follows a nearly identical process from a coding point of view, so I won’t belabor the points above, but the full code is provided below. What I want to spend the rest of the time talking about are the issues that would pop up with our basic design and how to deal with them. I’ll also discuss more advanced methods of avoiding bot detection that I chose not to implement, but would absolutely be worth it for regular users.
Unexpected events:
- Scorpions. Scorpions in the Dwarven Mines are annoying, especially to low level players, but for a bot they can completely shut down a loop. If instead of clicking a rock or the ground next to a rock, you accidenally attack a scorpion, the design of our bot (so far) will never trigger its next event, and your bot will stand until it logs out. A simple solution is to check for yet another hover event, looking for an image of the “attack” message, and if it’s found, right clicking to move to the spot:
1 2 3 4 5 | def check_for_scorpion(r): if self.image_match(r, 'triggers/attack.png'): pyautogui.click(button='right') print("Successfully avoided a scorpion.") pyautogui.moveRel(randint(-75, 75), randint(58, 78)) |
- Mining gems instead of ore. Luckily our built in check for a full inventory at the beginning of each mine_loop will make this consideration irrelevant most of the time, however, if a gem is the last item added to an inventory it will shut the bot down. This is because “mining” a gem is a side effect of mining, and doesn’t actually cause the rock to become empty. Given that the odds of this happening are 1/7,980 (1/285 chance of mining a gem, 1/28 inventory slots where it matters) I chose to ignore this possibility for the simplicity’s sake.
- Lag/disconnects. The beauty of an image-trigger-based design is that even if the game lags, causing the screen to freeze, the program will still run properly. The program will simply wait until it can “see” the changed screen again. That said, if RS disconnects to the lobby/logs out, another function could be added to automatically log in again. This could be triggered by searching for static images found on the lobby and main login pages, however I chose to leave this as a manual decision for my program.
- Other players. What happens if other people are mining on the same rocks? Our bot will still do its thing! The same triggers will still get set off, but there may be some waiting if the other person is faster – just like if a human were playing. Imagine you and this other player mining on the rock, and they’re successful first. The hover will still change to reflect the ore being gone, and so our bot will move on to the next rock (just without having been “successful” as we called it).
Advanced topics:
- Cursor speed. Remember I said we’d come back to this with regard to the “teleportation effect” of having speed set to 0. Since the time parameter in pyautogui reflects an absolute speed in seconds, simply changing the speed to, say, 1 wouldn’t be ideal. That’s because a 1 second move for 1000 pixels might make sense, but for a 50 pixel move would be incredibly slow. In order to address this, I added travel_time() to determine a time based on the distance between the start and end pixels and a more reasonable randomized rate at which to travel.
- Cursor movement patterns. Fixing cursor speed still leaves us with the fact that our mouse is moving perfectly linearly. Ideally, we would use curves, jitter, and other patterns based on a sampling of real player mouse behavior, but that was beyond the scope of my planned implementation. Implementing these techniques is certainly complicated, but very much worth it, as it is a major component to bot detection (though I can’t speak for how Jagex does it). Implementing Bezier curves would be a great start to improving cursor path, and there are a couple of newer modules out there to help – I encourage you to look into them. If you’re not fixed on python like I was when I began this project, there are also a few already written solutions for human-like cursor movement out there on the internet written in pascal, Java, and C++ (just give it a google).
- Humans get sick of the grind. As great as randomness is, unlike computer programs people get tired. That usually means taking breaks and less efficient clicks. It might even mean switching activities for awhile. Ultimately the point of a bot is to relatively efficiently and hastle-freely train a specific skill, so I avoided mimicking this behavior on purpose. Just remember to build in some ineffeciency to “fly below the radar” so to speak.
The final project. Below is what my “final” product ended up looking like. For easier reading/copying, check it our on GitHub at https://github.com/ZaxR/IronBot/blob/master/IronBot.py.
1 2 3 4 5 6 7 8 9 10 11 12 13 14 15 16 17 18 19 20 21 22 23 24 25 26 27 28 29 30 31 32 33 34 35 36 37 38 39 40 41 42 43 44 45 46 47 48 49 50 51 52 53 54 55 56 57 58 59 60 61 62 63 64 65 66 67 68 69 70 71 72 73 74 75 76 77 78 79 80 81 82 83 84 85 86 87 88 89 90 91 92 93 94 95 96 97 98 99 100 101 102 103 104 105 106 107 108 109 110 111 112 113 114 115 116 117 118 119 120 121 122 123 124 125 126 127 128 129 130 131 132 133 134 135 136 137 138 139 140 141 142 143 144 145 146 147 148 149 150 151 152 153 154 155 156 157 158 159 160 161 162 163 164 165 166 167 168 169 170 171 172 173 174 175 176 177 178 179 180 181 182 183 184 185 186 187 188 189 190 191 192 193 194 195 196 197 | import math from random import randint, uniform import sys import time import cv2 import numpy as np import pyautogui as pag class MineBot(object): """ Iron mining bot for the Dwarven Mines, using 3/3 rocks. Currently Bot generates: One full run in ~155 seconds, for ~23.25 runs/hour ~22.8k xp/hr, ~650 iron ore/hr, ~190.5k gp/hr (assuming a 293gp/ore price) """ def __init__(self): pass def mine_loop(self, rock_locations, triggers, mininglap): order = ['rock1', 'rock2', 'rock3'] trigger_order = ['rock1iron', 'rock1noiron', 'rock2iron', 'rock2noiron', 'rock3iron', 'rock3noiron'] for i in range(len(order)): # Checks for full inventory. if not self.image_match((2352, 682, 63, 55), 'triggers/bankslot.png'): return True # Checks for scorpions and moves to the location of rock #3. if i == 2: self.random_coordinate(rock_locations['movetorock3']) self.check_for_scorpion((rock_locations['movetorock3'][0], rock_locations['movetorock3'][1], rock_locations['movetorock3'][2] + 250, rock_locations['movetorock3'][3] + 250)) pag.click() self.random_coordinate(rock_locations[order[i]]) self.wait_for_trigger(triggers[trigger_order[(i*2)]]) # wait for iron pag.click() self.wait_for_trigger(triggers[trigger_order[(i*2)+1]]) # wait for success self.random_wait(0.05, 0.1) # Resets location for the beginning of the next loop. self.random_coordinate(rock_locations['reset']) self.check_for_scorpion((rock_locations['reset'][0], rock_locations['reset'][1], rock_locations['reset'][2] + 250, rock_locations['reset'][3] + 250)) pag.click() self.wait_for_trigger((1700, 50, 150, 150, 'triggers/reset_check.png')) # check to make sure made it to right location return def bank_loop(self, bank_locations, triggers): """Makes a trip to the bank to deposit the iron ore. Takes 16-17 seconds""" order = ['dgdoordown', 'depositbox', 'depositbutton', 'dgdoorup', 'startlocation'] waits = [(0.1, 0.2), (0.1, 0.2), (0.1, 0.2), (5, 6), (0.1, 0.2)] for i in range(len(order)): self.random_coordinate(bank_locations[order[i]]) if i in range(4): self.wait_for_trigger(triggers[order[i]]) if i == 4: self.check_for_scorpion((947, 1195, 250, 250)) pag.click() self.random_wait(waits[i][0], waits[i][1]) def drop_loop(self, keybind='0'): r = randint(28, 32) t = uniform(4.8, 7) clicktime = t/r for _ in range(r): pag.keyDown(keybind) self.random_wait(clicktime - .04, clicktime + .04) def bank_or_drop(self): while True: answer = input('Would you like to 1) bank (takes an extra ~10 seconds/inventory) or 2) drop the ore? ') if answer.lower() in ['b', 'ban', 'bnk', 'bakn', 'bnak', 'bank', 's', 'save', 'y', 'yes']: print('Banking selected.') return 'bank' elif answer.lower() in ['d', 'dro', 'drp', 'drpo', 'dorp', 'drop', 'n', 'no']: print('Dropping selected.') return 'drop' else: print('Not a valid option. Please try again.') def random_coordinate(self, location): """Moves cursor to random locaction still above the object to be clicked""" x = randint(location[0], location[0]+location[2]) y = randint(location[1], location[1]+location[3]) time = self.travel_time(x, y) return pag.moveTo(x, y, time) def travel_time(self, x2, y2): """Calculates cursor travel time in seconds per 240-270 pixels, based on a variable rate of movement""" rate = uniform(0.09, 0.15) x1, y1 = pag.position() distance = math.sqrt(math.pow(x2-x1, 2)+math.pow(y2-y1, 2)) return max(uniform(.08, .12), rate * (distance/randint(250, 270))) def image_match(self, r, img): pag.screenshot('triggers/screenie.png', region=r) screen = cv2.imread('triggers/screenie.png') template = cv2.imread(img) res = cv2.matchTemplate(screen, template, cv2.TM_CCOEFF_NORMED) threshold = .80 loc = np.where(res >= threshold) if len(loc[0]) > 0: return True return False def wait_for_trigger(self, triggers): """Checks to see if the proper message is on screen to indicate that the rock is ready to mine""" r = triggers[0], triggers[1], triggers[2], triggers[3] img = triggers[4] while self.image_match(r, img) == False: self.random_wait(0.1, 0.2) return self.image_match(r, img) def random_wait(self, min=0.25, max=0.50): """Waits a random number of seconds between two numbers (0.25 and 0.50 default) to mimic human reaction time""" return time.sleep(uniform(min, max)) def check_for_scorpion(self, r): if self.image_match(r, 'triggers/attack.png'): pag.click(button='right') print("Successfully avoided a scorpion.") pag.moveRel(randint(-75, 75), randint(58, 78)) def logout(self, logout_location=(1194, 955, 167, 14)): pag.keyDown('escape') self.random_wait() pag.click(self.random_coordinate(logout_location)) sys.exit('Successful exit') def pause(self): pass if __name__ == '__main__': mb = MineBot() rock_locations = {'rock1': (1243, 569, 55, 62), 'rock2': (1138, 695, 34, 39), 'movetorock3': (962, 823, 50, 50), 'rock3': (1128, 691, 37, 56), 'reset': (1465, 570, 50, 50)} bank_locations = {'dgdoordown': (1630, 230, 70, 100), 'depositbox': (1079, 1086, 104, 71), 'depositbutton': (1333, 849, 30, 15), 'dgdoorup': (1625, 240, 45, 200), 'startlocation': (947, 1195, 71, 65)} rock_triggers = {'rock1iron': (1243, 569, 350, 200, 'triggers/mine_iron_ore_rocks.png'), 'rock1noiron': (1243, 569, 275, 200, 'triggers/mine_rocks.png'), 'rock2iron': (1144, 695, 350, 200, 'triggers/mine_iron_ore_rocks.png'), 'rock2noiron': (1144, 695, 275, 200, 'triggers/mine_rocks.png'), 'rock3iron': (1128, 691, 350, 200, 'triggers/mine_iron_ore_rocks.png'), 'rock3noiron': (1128, 691, 275, 200, 'triggers/mine_rocks.png')} bank_triggers = {'dgdoordown': (1630, 230, 470, 200, 'triggers/enter_mysterious_entrance.png'), 'depositbox': (1079, 1086, 500, 200, 'triggers/bank_deposit_box.png'), 'depositbutton': (1175, 750, 350, 100, 'triggers/deposit_button_hover.png'), 'dgdoorup': (1625, 240, 350, 300, 'triggers/exit_mysterious_door.png')} print('Your character must be in the NorthWest tile by the two iron ore rocks in the Dwarven Mines.\n' 'Also, the up arrow must be pushed as high as possible, and rotation must be the same as on first login.\n' 'Press Ctrl-F2 to exit.') answer = mb.bank_or_drop() time.sleep(5) try: lap = 0 while True: start_time = time.time() mininglap = 1 while True: full = mb.mine_loop(rock_locations, rock_triggers, mininglap) if full: break mininglap += 1 if answer == 'bank': mb.bank_loop(bank_locations, bank_triggers) else: mb.drop_loop() lap += 1 laptime = time.time()-start_time print("Trip number {tripno} took {time} seconds, which is a {xp} xp/hour and " "{ore} iron ore/hour pace.".format(tripno=lap, time=round(laptime, 2), xp=('{0:,.0f}'.format(60 / (laptime / 60) * 28 * 35)), ore=('{0:,.0f}'.format(60/(laptime/60)*28)))) except KeyboardInterrupt: sys.exit() |
If you follow the philosophy from part I of this guide, and were able to follow along with the design/code in this second part, you are now well on your way to designing your own bots for anything/everything RS (or anything else)! Like this post? Have questions or comments? Please leave me feedback below!

12 comments
Really nice guide. You gave me some good ideas.
You had become a robot without you knowing it a.k.a too much grinding. You’ve been banned.
How do you run the bot with Python? just run script with runescape open?
Yup – there’s a built in time delay so I could run via Python, then switch over to the game.
Any interest in coding a bot together?
I mean, not a pixel based input one, i thought of cracking up the client and forging packets
If Zax not … I am interested in 🙂
Currently I am trying to implement some deep learning algorithms for object detection.
The part of deep learning, I can help you 🙂 I am more interested in achieving it then using it. Should we join?
Nice Guide, but how would you go about the standing type bots (alching, fletching). It seems these are harder to avoid detection on
You’re totally wrong
They’re the easiest type of bot to make
Barelly three lines of code
Take alch for example
Just make it click at random intervals at the spell, which automatically switches to the inventory tab
3 lines = undetectable auto high alch
I was looking at this and I didn’t understand the drop_loop(). It didn’t look like it was clicking anything to drop. Is that just a place holder currently?
Was this for osrs or rs3? osrs doesn’t have different prompts depending on if ore is there or not
Hi there, I know it’s been a few years since this was posted, but I’m having a hard time understanding how the trigger coordinates relate to the location coordinates. For example,’rock_locations = {‘rock1′: (1243, 569, 55, 62)….’ and ‘rock_triggers = {‘rock1iron’: (1243, 569, 350, 200, ‘triggers/mine_iron_ore_rocks.png’)….’. The first 2 values in each case are the same, I assume indicating the position of the rock on screen in x/y coordinates.
However it is the second pair that is confusing me. In the first case (rock1) this looks like it follows the random_coordinate method however in the second case the values appear to be completely different. Do you remember what these values represent and why you chose them?